使用 Keycloak 轻松保护您的 Spring Boot 应用程序
2017 年 5 月 29 日 Sébastien Blanc 发布
这篇文章发布于一年多以前。博客文章中的内容可能已过时。
什么是 Keycloak?
虽然安全性是任何应用程序的关键方面,但其实现可能很困难。更糟糕的是,它经常被忽视、实施不力并且侵入代码。但最近,安全服务器已经出现,允许外包和委托所有身份验证和授权方面。在这些服务器中,最有前途的之一是 Keycloak,它是开源、灵活且与任何技术无关的,可以在其自身的基础设施中轻松部署/适应。此外,Keycloak 不仅仅是一个身份验证服务器,它还提供完整的身份管理系统、用于 LDAP 等第三方的用户联合以及更多功能... 请访问此处查看。该项目也可以在 Github 上找到Spring Boot 和 Keycloak
Keycloak 为需要与 Keycloak 实例交互的应用程序提供适配器。有适用于 WildFly/EAP、NodeJS、Javascript 以及当然还有 Spring Boot 的适配器。设置 Keycloak 服务器
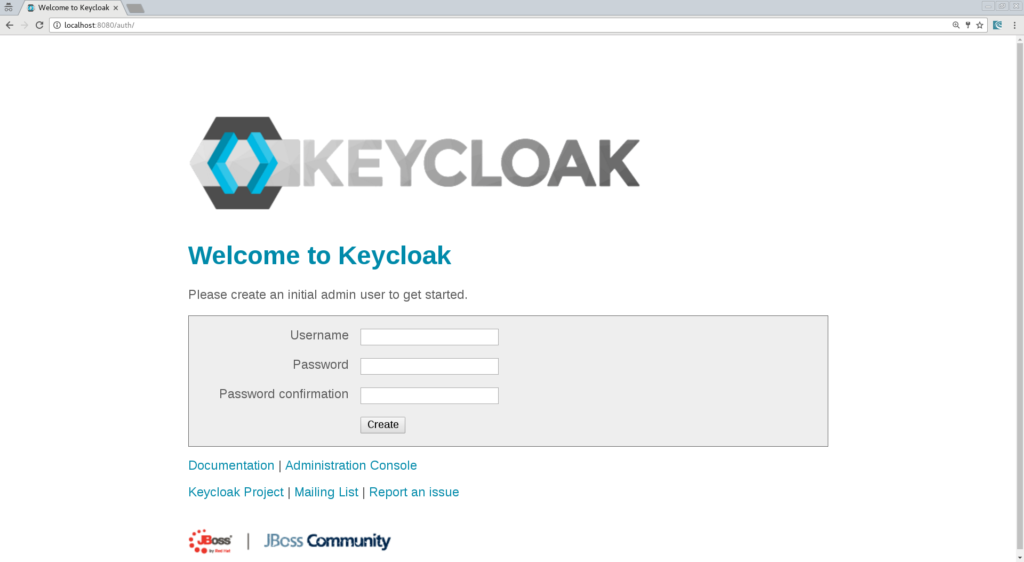
./standalone.sh(bat)然后打开浏览器并转到 https://127.0.0.1:8080/auth。 由于这是服务器首次运行,您将必须创建一个管理员用户,因此让我们创建一个用户名为 admin,密码为 admin 的管理员用户
现在您可以登录到管理控制台并开始配置 Keycloak。
创建一个新的 Realm
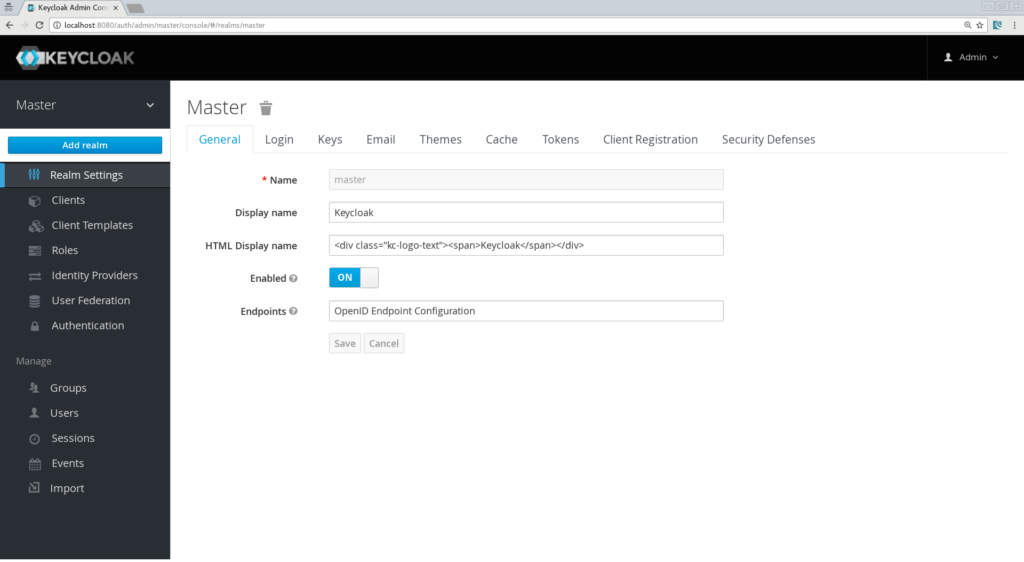
让我们将其命名为“SpringBoot”。
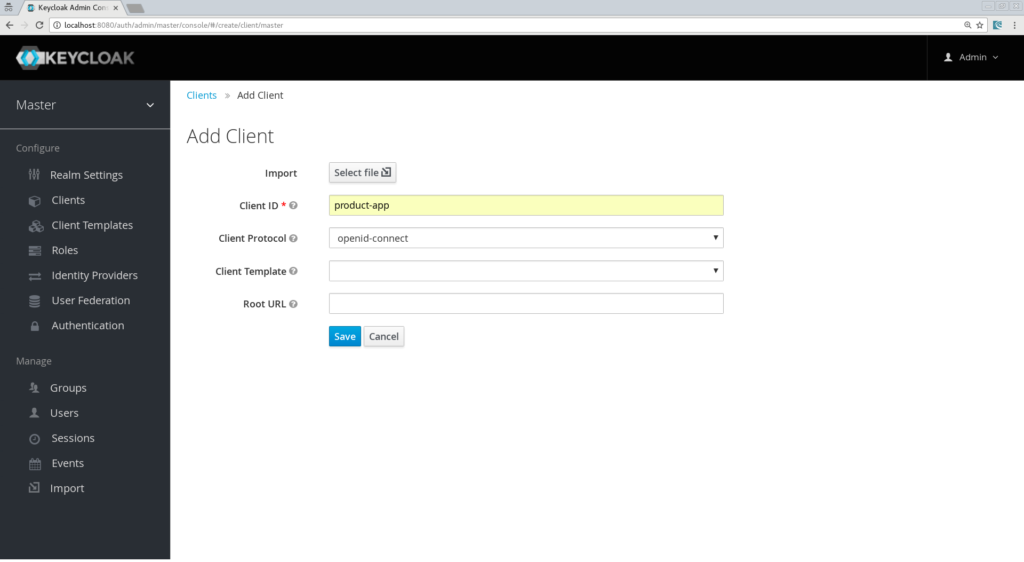
创建客户端、角色和用户
在下一个屏幕上,我们可以保留默认设置,但只需要输入一个有效的重定向 URL,Keycloak 将在用户通过身份验证后使用该 URL。输入值:“https://127.0.0.1:8081/*”
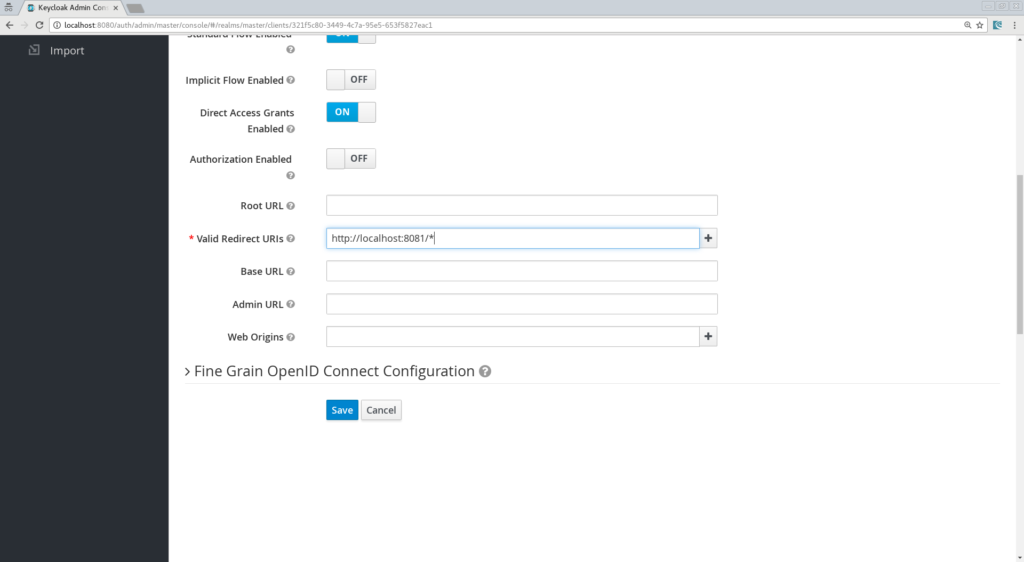
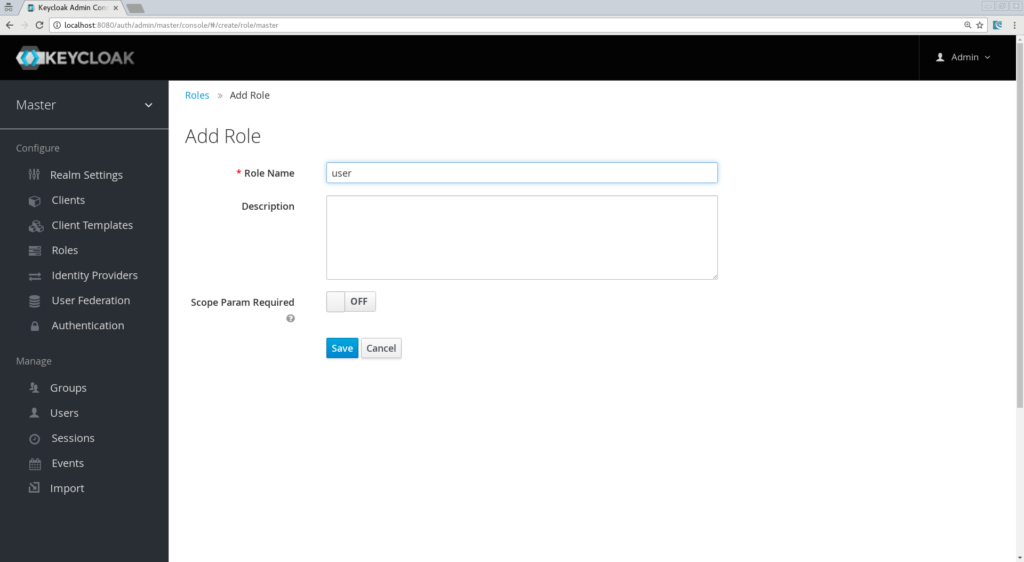
不要忘记保存!现在,我们将定义一个将分配给用户的角色,让我们创建一个名为“user”的简单角色
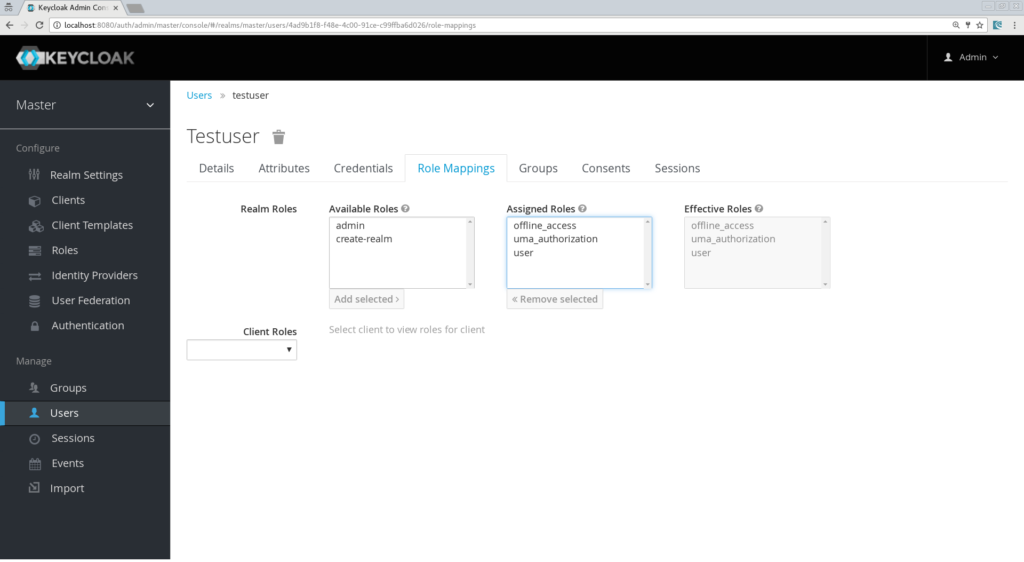
最后但并非最不重要的是,让我们创建一个用户,只需要用户名属性,让我们称他为“testuser”

最后,我们需要设置他的凭据,因此转到用户的凭据选项卡并选择密码,在本文的其余部分中,我将使用“password”,请务必关闭“临时”标志,除非您希望用户在首次身份验证时必须更改密码。现在转到“角色映射”选项卡并分配角色“user”
我们现在完成了 Keycloak 服务器配置,我们可以开始构建我们的 Spring Boot 应用程序了!
创建一个简单的应用程序
- Web
- Freemarker
- Keycloak
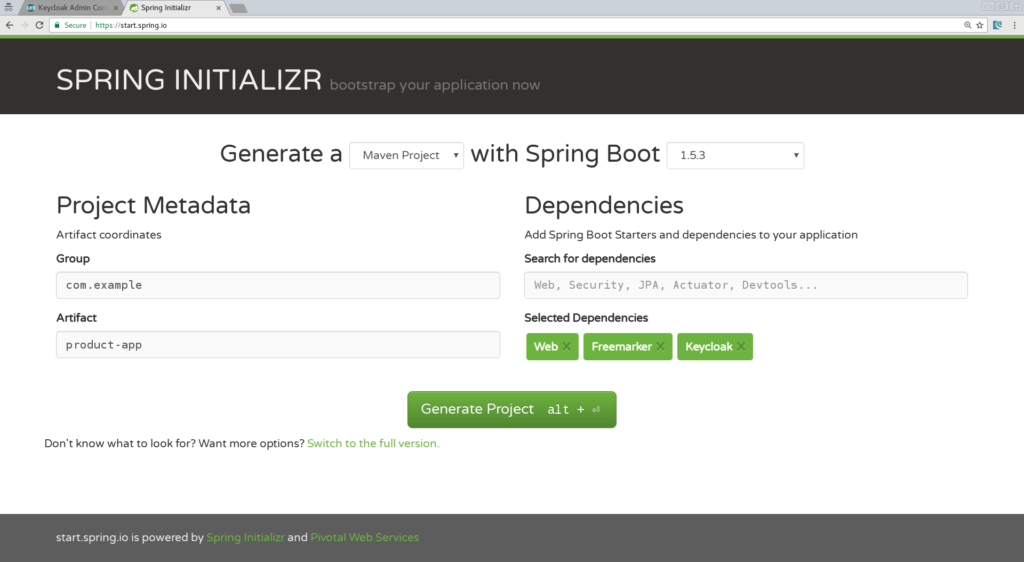
将应用程序导入您最喜欢的 IDE,我将使用 IntelliJ。我们的应用程序将很简单,并且仅包含 2 个页面
- index.html,它将是包含指向产品页面的链接的着陆页。
- Products.ftl,它将是我们的产品页面模板,并且只能由经过身份验证的用户访问。
<html>
<head>
    <title>My awesome landing page</title>
</head>
 <body>
   <h2>Landing page</h2>
   <a href="/products">My products</a>
 </body>
</html>
现在我们需要一个控制器@Controller
class ProductController {
@Autowired ProductService productService;
@GetMapping(path = "/products")
public String getProducts(Model model){
model.addAttribute("products", productService.getProducts());
return "products";
}
@GetMapping(path = "/logout")
public String logout(HttpServletRequest request) throws ServletException {
request.logout();
return "/";
}
}
如您所见,这很简单;我们为产品页面定义一个映射,为注销操作定义一个映射。您还会注意到我们正在调用“ProductService”,它将返回一个字符串列表,该列表将放入我们的 Spring MVC 模型对象中,因此让我们创建该服务@Component
class ProductService {
public List<String> getProducts() {
return Arrays.asList("iPad","iPod","iPhone");
}
}
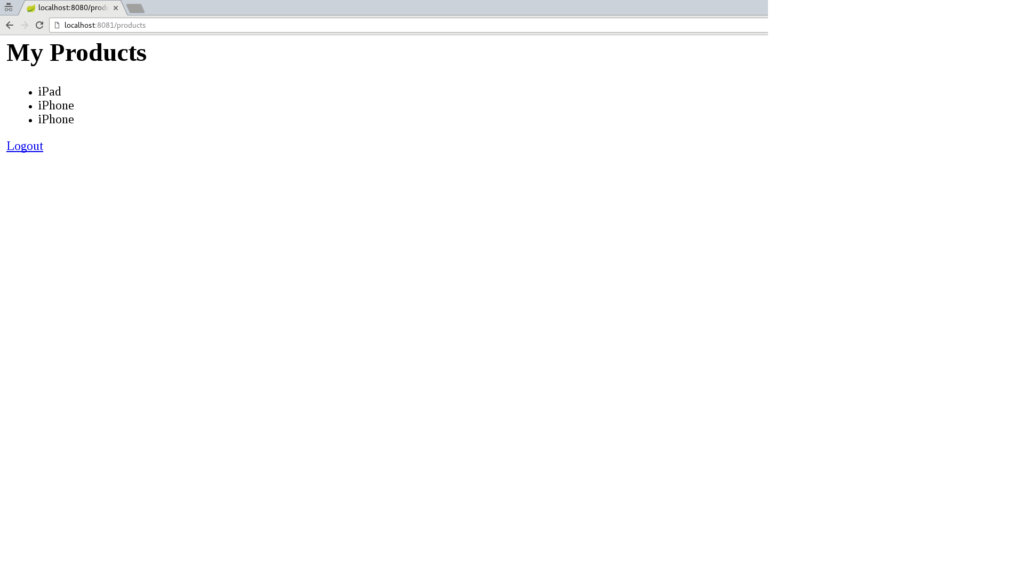
我们还需要创建 product.ftl 模板,在“src/resources/templates”中创建此文件<#import "/spring.ftl" as spring>
<html>
<h2>My products</h2>
<ul>
<#list products as product>
<li>$amp{product}</li>
</#list>
</ul>
<p>
<a href="/logout">Logout</a>
</p>
</html>
在这里,我们只是迭代 Spring MVC 模型对象中的产品列表,并添加一个从我们的应用程序注销的链接。剩下的就是将一些 keycloak 属性添加到我们的 application.properties 中。定义 Keycloak 的配置
keycloak.auth-server-url=https://127.0.0.1:8080/auth
keycloak.realm=springboot
keycloak.public-client=true
keycloak.resource=product-app
然后我们需要定义一些安全约束,就像您在 web.xml 中的 Java EE 应用程序中一样
keycloak.security-constraints[0].authRoles[0]=user
keycloak.security-constraints[0].securityCollections[0].patterns[0]=/products/*
在这里,我们简单地定义,对 /products/* 的每个请求都应该由经过身份验证的用户完成,并且该用户应该具有角色“user”。最后一个属性是确保我们的应用程序将在端口 8081 上运行
server.port=8081我们都设置好了,我们可以运行我们的应用程序了!您有多种选项可以运行您的 Spring Boot 应用程序,使用 Maven,您可以简单地执行
mvn clean spring-boot:run现在浏览到“https://127.0.0.1:8080”,您应该看到着陆页,单击“产品”链接,您将被重定向到 Keycloak 登录页面
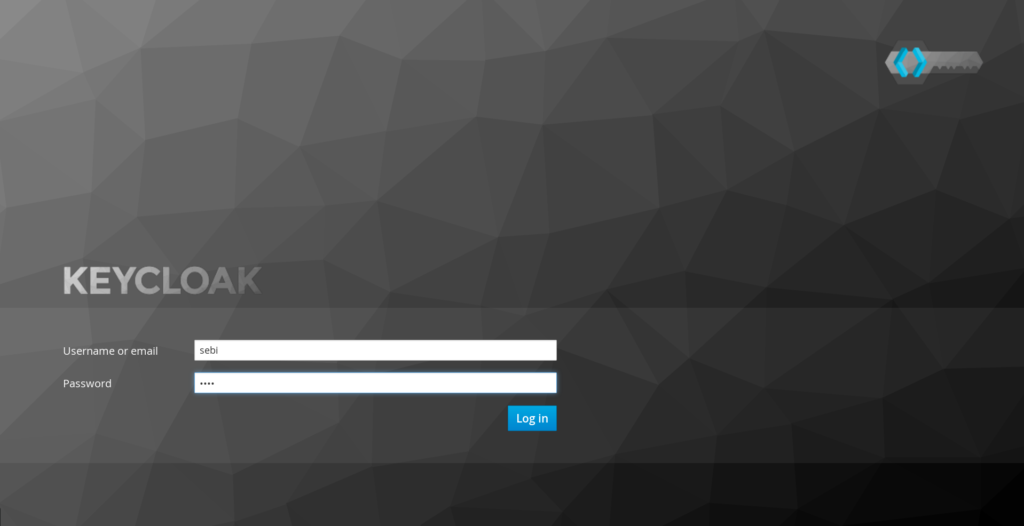
使用我们的用户“testuser/password”登录,您应该被重定向回您的产品页面
恭喜!您已经使用 Keycloak 保护了您的第一个 Spring Boot 应用程序。现在注销并返回到 Keycloak 管理控制台,了解如何“调整”您的登录页面。例如,您可以激活“记住我”、“用户注册”,点击保存按钮,然后返回到您的登录屏幕,您将看到这些功能已添加。
引入 Spring Security 支持
添加 Spring Security Starter
<dependency>
   <groupId>org.springframework.boot</groupId>
   <artifactId>spring-boot-starter-security</artifactId>
</dependency>
创建一个 SecurityConfig 类
@Configuration
@EnableWebSecurity
@ComponentScan(basePackageClasses = KeycloakSecurityComponents.class)
 class SecurityConfig extends KeycloakWebSecurityConfigurerAdapter
{
   /**
    * Registers the KeycloakAuthenticationProvider with the authentication manager.
    */
   @Autowired
   public void configureGlobal(AuthenticationManagerBuilder auth) throws Exception {
      KeycloakAuthenticationProvider keycloakAuthenticationProvider = keycloakAuthenticationProvider();
      keycloakAuthenticationProvider.setGrantedAuthoritiesMapper(new SimpleAuthorityMapper());
      auth.authenticationProvider(keycloakAuthenticationProvider);
   }

   @Bean
   public KeycloakConfigResolver KeycloakConfigResolver() {
      return new KeycloakSpringBootConfigResolver();
   }

   /**
    * Defines the session authentication strategy.
    */
   @Bean
   @Override
   protected SessionAuthenticationStrategy sessionAuthenticationStrategy() {
      return new RegisterSessionAuthenticationStrategy(new SessionRegistryImpl());
   }

   @Override
   protected void configure(HttpSecurity http) throws Exception
   {
      super.configure(http);
      http
            .authorizeRequests()
            .antMatchers("/products*").hasRole("user")
            .anyRequest().permitAll();
   }
}
让我们仔细看看最重要的方法- configureGlobal:在这里我们更改了 Granted Authority Mapper,默认情况下在 Spring Security 中,角色以 ROLE_ 为前缀,我们可以在我们的 Realm 配置中更改它,但这可能会使其他不知道此约定的应用程序感到困惑,所以在这里我们分配一个 SimpleAuthorityMapper,它将确保不添加前缀。
- keycloakConfigResolver:默认情况下,Keycloak Spring Security 适配器将查找类路径中名为 keycloak.json 的文件。但在这里我们想利用 Spring Boot 属性文件支持。
- configure:在这里我们定义了我们的安全约束,非常容易理解,我们使用角色“user”保护路径“/products”
keycloak.principal-attribute=preferred_username现在我们甚至可以将 principal 注入到我们的控制器方法中,并将用户名放入 Spring MVC 模型中
@GetMapping(path = "/products")
public String getProducts(Principal principal, Model model){
   model.addAttribute("principal",principal);
   model.addAttribute("products", productService.getProducts());
   return "products";
}
最后,我们更新 product.ftl 模板以打印出用户名<#import "/spring.ftl" as spring>
<html>
<h2>Hello $amp{principal.getName()}</h2>
<ul>
<#list products as product>
<li>$amp{product}</li>
</#list>
</ul>
<p>
<a href="/logout">Logout</a>
</p>
</html>
重新启动您的应用程序,再次进行身份验证,它应该仍然可以工作,您也应该能够在产品页面上看到您的用户名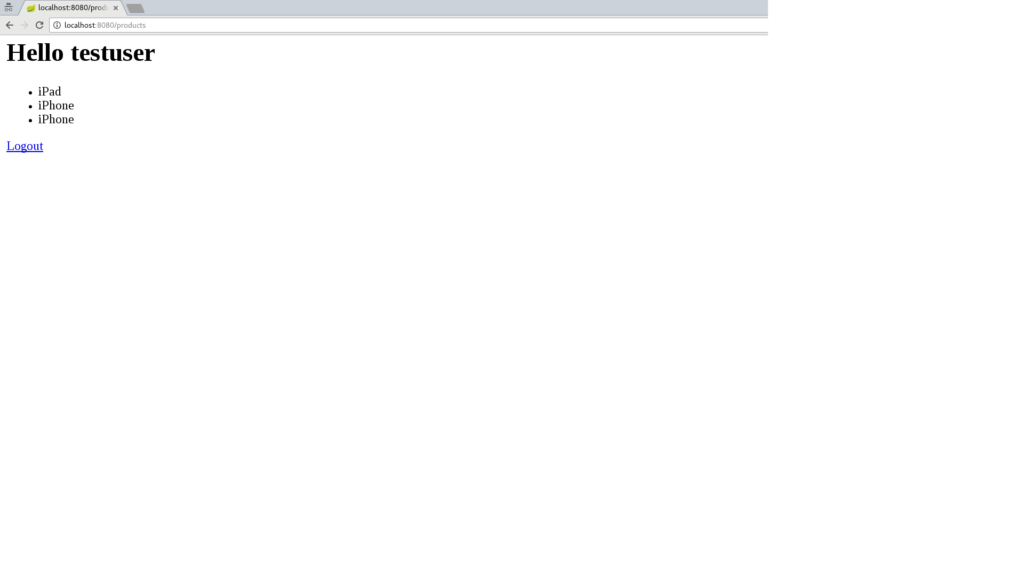
结论
- 了解如何保护微服务。
- 微服务如何安全地“对话”。
- 如何使用 AngularJS 构建的纯 Web 应用程序可以通过 Keycloak 保护并调用受保护的微服务。
截屏视频
本文也提供“截屏视频”格式- https://www.youtube.com/watch?v=UUWyu1kG6YI (第 1 部分)
- https://www.youtube.com/watch?v=Yc5Qe5C3Xn4 (第 2 部分)
资源
- Github 项目
- Keycloak 网站
- Spring Boot Keycloak 适配器文档
- Spring Security Keycloak 适配器文档
- Spring Initializr 网站